Welcome From Vikings Masonry, Block, Concrete and Turf Professionals.
Home » Retaining Walls

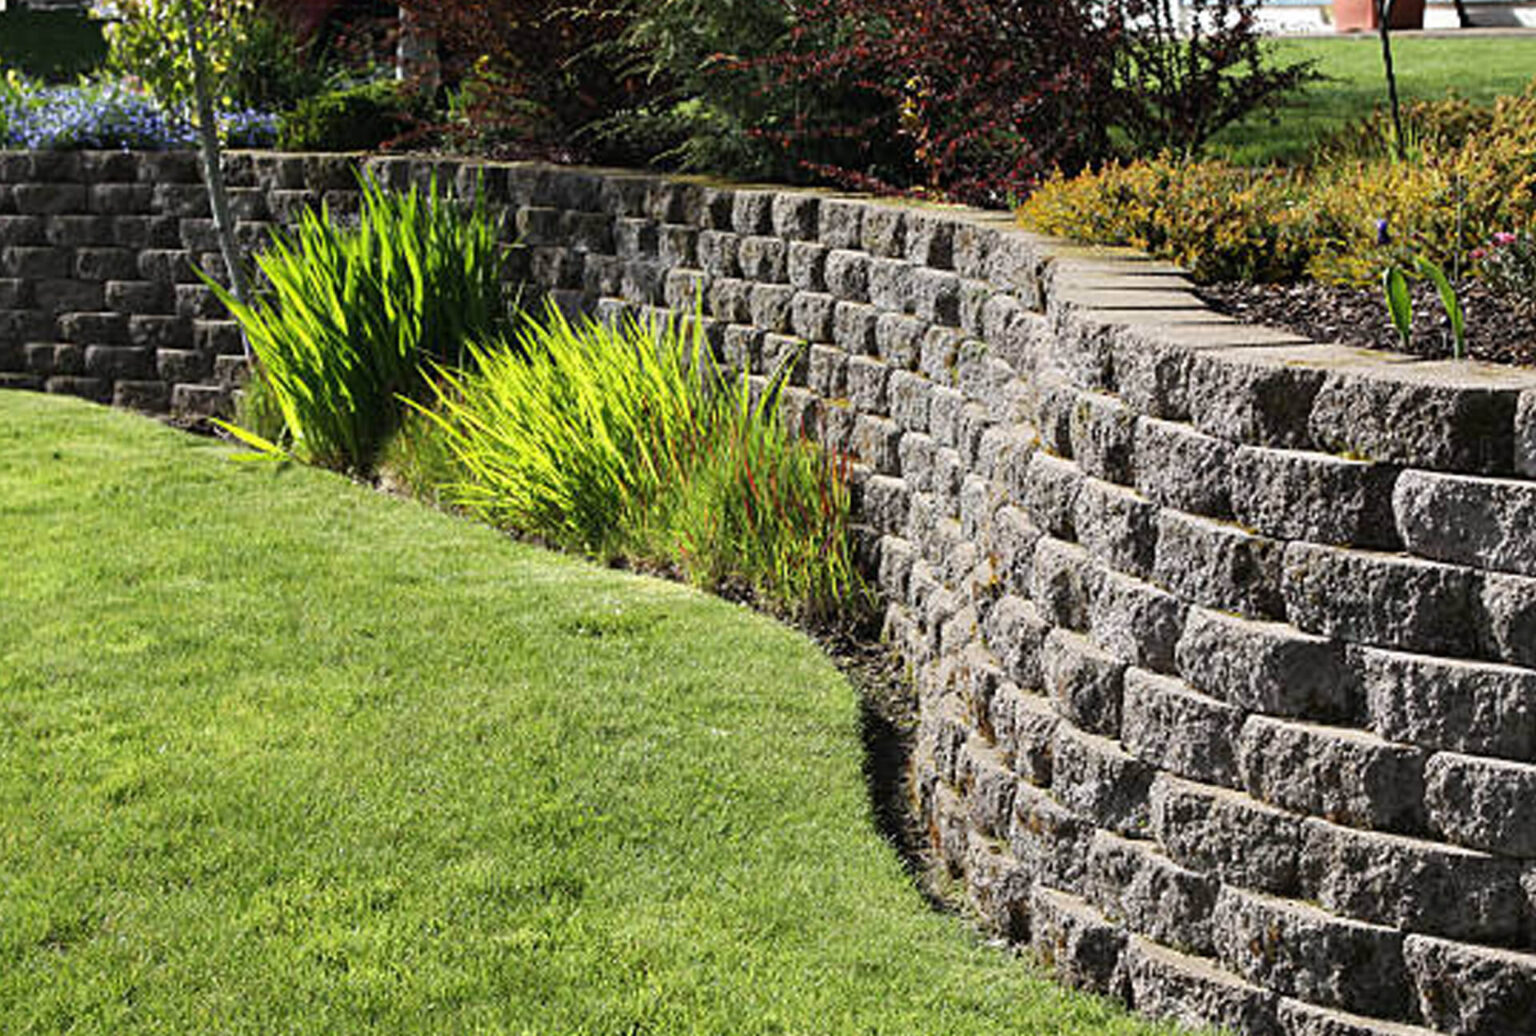
Retaining walls can offer both aesthetic and practical value to any home. Not only can they protect and enhance your landscaping, they can also increase the value of your home. However, for homeowners to reap these benefits, their retaining walls must be installed and designed correctly. These walls are essential for properties located on slopes and hills. Homeowners who see the need for retaining walls should hire experienced professionals to ensure that they are installed safely.
There are several reasons why retaining wall pavers are beneficial for your home. One of these is that they help create flat space. If a part of your yard is raised and you want to transform that into a flat space, retaining walls can help you do it. They can also be used in flat areas of the yard, but are best when dealing with grades and slopes where drainage is an issue. With retaining walls in place, you won’t have to worry about erosion or flooding in your lawn or garden.
Another advantage of retaining wall pavers is that they can assist with the management of water overflow. Retaining walls can help slow the flow and speed of water once it rains. They can also help protect your garden and yard from being damaged by water floods. Retaining wall pavers can also help you control the water flow by redirecting it to the spot that you desire. They are also visually appealing, which enhances the curb appeal of your home.
If you need retaining wall pavers in Scottsdale, AZ – be sure to call us or request a free estimate online.
Start building the retaining wall by placing the AB Fieldstone facing units at the lowest elevation of the wall on top of the base material, making sure to leave space for the AB Fieldstone anchoring unit. Make sure each unit is level and aligned. The facing units can be flipped upside down for different appearances.
To properly install the anchoring units, use a brick hammer or shovel to create a small trench for the lip. Insert the anchoring units, which are made of recycled materials, into the receiving slots of the facing units with the lip facing down in the trench. Adjust them to make sure they are level with the facing units and that they do not extend higher than the facing unit. Typically, each anchoring unit should match up with one facing unit, except in special cases such as corners.
For reinforced walls, gravity walls over 4 ft. (1.2 m) tall, or sites with poor drainage, a drain pipe is required. Place the drain pipe at the lowest point towards the back of the trench and vent it to daylight every 50 ft. (15 m). Refer to the approved plans for location and specifications.
Remove all excess material from the top surface of the AB Fieldstone units and clear any debris from the receiving notch.
If reinforcement is needed, refer to the approved plans for the specific size and course location. Learn more about reinforcing your landscape wall.
To speed up the installation and alignment of the second course, install the first AB Fieldstone facing unit and AB Fieldstone anchoring unit together. Make adjustments to ensure that the vertical seams are offset from the blocks below by at least 3 inches (75 mm) or one-quarter of the length of the block.
Use the first block as a guide to install the rest of the facing units.
Insert the anchoring units into the receiving slots of the facing units and slide the two pieces together so that the lip of the anchoring unit is placed into the receiving notch of the block on the course below. Each anchoring unit should match up with one facing unit.
Check and adjust the level and alignment of the facing units.
Fill the hollow cores and a minimum of 12 inches (300 mm) behind the wall with wall rock. Make sure to install the wall rock behind the anchoring unit to be level or below the receiving notch or approximately 0.5 inches (12 mm) below the top of the anchoring unit.
Use approved soils to backfill behind the wall rock.
From the second course and above, use a plate compactor to compact directly on the blocks as well as the area behind the blocks. Compact in layers of 8 inches (200 mm) or less.
Remove excess material from the top surface and repeat the steps to complete the wall to the required height. More information on ending walls with turn-ins.
We really care about you and your products as much as you do. Please send us a message for any question.
We deal in great quality products. Our clients are 100% satisfied by our work
Our clients are 100% satisfied by our services
Click here to request a bid
+1 (844) 680-1515
100% Saftisfaction
Copyright © 2021 libertypaversaz | All Rights Reserved